
Table of Contents
Setting Up Your 10 x 30 Tent
Setting up your 10 x 30 tent requires careful planning and execution to ensure stability and safety. Begin by selecting a flat, level area that is free of debris and sharp objects. Clear the space to avoid any potential hazards during setup. It’s also beneficial to check the weather forecast to prepare for any unexpected conditions.
Once you have chosen the right location, lay out all the components of the tent. This typically includes the tent fabric, poles, stakes, and guy lines. Familiarize yourself with the parts by consulting the instruction manual or diagrams provided. Organizing these elements will streamline the assembly process.
Assembly Process
Start the assembly by laying out the tent fabric on the ground. Identify the corners and ensure that the entrance faces the desired direction. Next, insert the poles into the designated sleeves or connectors in the fabric. Depending on your model, this may involve threading poles through sleeves or snapping them into place.
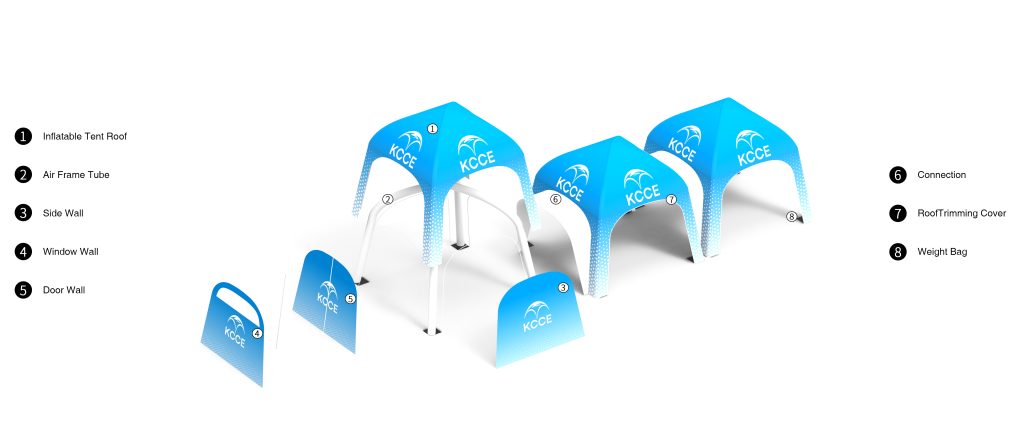
As you raise the tent, ensure that it maintains its shape and structure. Use a partner if necessary to hold sections in place while you secure the poles. Once the frame is raised, stake down the corners to provide stability, and attach any additional guy lines to further reinforce the tent against wind or movement.
Final Touches and Safety Checks
After the tent is fully assembled, perform a thorough inspection of all connections and materials. Check that the stakes are firmly embedded in the ground and that the poles are securely locked. This step is critical for preventing any accidents or collapses, especially in windy conditions.
| Number | Name |
| 1 | Trade Show Tent Type |
Finally, consider adding weight to the tent’s base if you’re in an area prone to strong winds. Sandbags or heavy stones can be placed at each corner to enhance stability. Ensure that all entrances are properly secured and that there are no loose flaps that could pose a risk during inclement weather.


